

 English
 中文简体
 Español
In the evolution of architectural design, thermal comfort has always been a core metric for measuring quality of life. From open fires to cast-iron radiators and now to radiant heating systems, the un...
READ MORE
Underfloor Heating Panels: EPS vs XPS Selection, Thickness and Installation Guide
Oct 15,2026 ------ Industry News
Two quotes land on the same desk for the same 90 square metre ground floor. One offers 30 mm grooved EPS panels. The other offers 20 mm XPS boards with a bonded aluminium facing. Both are sold as underfloor heating panels, both accept the same 16 mm pipe, and both look like the same sheet of foam with channels cut into it. Only one of them will still reach its design heat output at a 40 °C flow temperature five winters from now.
The short answer rests on three declared numbers rather than the material name: compressive strength, thickness and thermal conductivity. XPS earns its higher price in thin retrofit build-ups, damp slabs, wet rooms and any floor that has to carry point loads. EPS is the better purchase when the base is dry, the screed is thick and the budget is under pressure. Everything else on the data sheet either supports those three numbers or quietly undermines them.
EPS or XPS: The Decision in One Table
Both materials are rigid foams produced to harmonised European standards, EN 13163 for EPS and EN 13164 for XPS, and both are supplied with grooved or plain faces for pipe fixing. The ranges below are typical for panels sold into floor heating projects rather than the theoretical limits of each polymer.
| Property | EPS panel | XPS panel |
|---|---|---|
| Thermal conductivity | 0.031 to 0.040 W/mK | 0.029 to 0.036 W/mK |
| Compressive strength at 10 percent deformation | Typically 100 to 200 kPa | Typically 300 to 700 kPa |
| Water absorption over 28 days | Higher, so a facing or vapour barrier matters | Very low, closed-cell structure |
| Typical grooved thickness | 30 to 50 mm | 20 to 40 mm |
| Minimum workable build-up in a retrofit | About 40 mm | About 20 mm |
| Relative cost per square metre | Baseline | 20 to 40 percent higher |
| Best suited to | New build with a thick screed and a dry subfloor | Retrofits, wet rooms, heavy point loads |
Read that table as a build-up decision rather than a material contest. When your floor can only rise by 25 mm, XPS is not a luxury upgrade, it is the only route to a useful thermal resistance without switching to a more expensive pipe-fixing system. When you have 50 mm or more and the slab is dry, EPS delivers within a few percent of the same floor performance for noticeably less money.
What an Underfloor Heating Panel Actually Contains
A panel is four components pressed into one board: an insulation core, a profiled surface that holds the pipe at a fixed centre spacing, a facing that spreads heat sideways from the pipe, and an edge detail that lets neighbouring boards interlock so no pipe runs across a joint.
Pipe spacing is the variable most often fixed by the panel rather than chosen by the designer. Common profiles hold 16 mm pipe at 150 mm centres, with 100 mm or 200 mm variants for bathrooms, glazed walls and low-temperature heat pumps. Changing that spacing after the panels are ordered means cutting boards, losing the facing bond and buying a second fixing system on site.
EPS underfloor heating panels are the cost-led route. The board is moulded from expanded polystyrene beads, which keeps the price low and the thermal performance predictable, provided the subfloor stays dry.
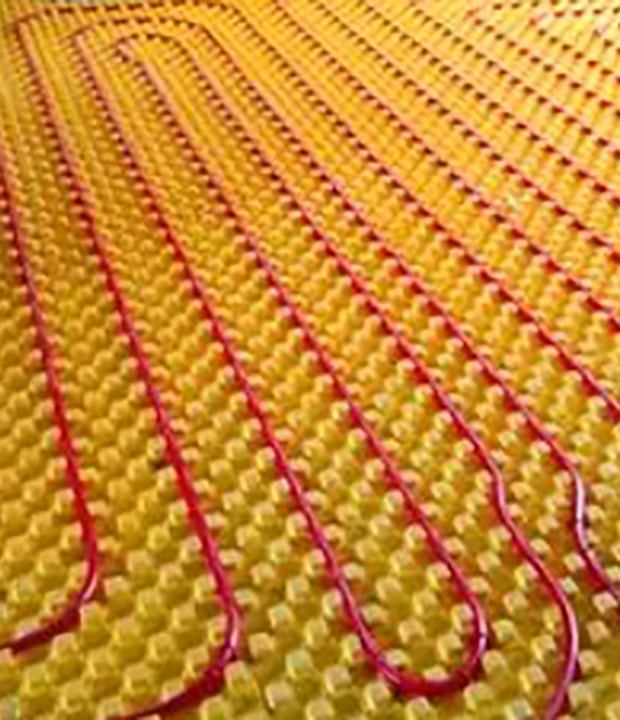 Custom EPS Underfloor Heating PanelsA cost-effective moulded EPS underfloor heating panel with grooved pipe channels, density 18–25 kg/m³, and predictable insulation for dry subfloors.View Product →
XPS underfloor heating panels are extruded rather than moulded, giving a denser closed-cell structure that resists water uptake and floor loads far better. That difference matters most in thin retrofit sections and in rooms that regularly get wet.
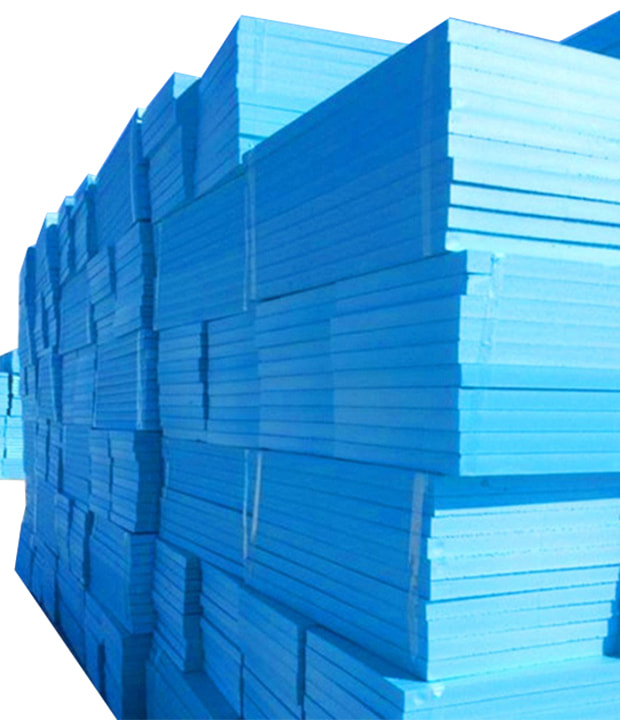 Custom XPS Underfloor Heating Insulation BoardsA moisture-resistant closed-cell XPS board with ≥300 kPa compressive strength and λ ≤ 0.032 W/(m·K), suited to retrofits and damp underfloor heating areas.View Product →
Thermal Performance: The Numbers Behind the Running Cost
Thermal conductivity is quoted per metre of thickness, so a thinner board with a lower value can beat a thicker board with a higher one. The chart below compares typical declared values for the same 25 mm build-up, shown as relative thermal resistance: the longer the bar, the less heat is lost downwards.
Relative thermal resistance of a 25 mm panel (longer bar means better insulation)
PU / PIR board 0.022 to 0.028 W/mK
XPS panel 0.029 to 0.036 W/mK
EPS panel 0.031 to 0.040 W/mK
Wood fibre board 0.038 to 0.045 W/mK
Figure 2: Declared conductivity ranges for common panel cores, converted to relative thermal resistance at equal thickness.
Two conclusions follow. First, the gap between XPS and EPS is narrow when both cores are at their best, so price and moisture resistance usually decide the selection rather than energy savings. Second, the facing is not decoration: a continuous aluminium surface spreads heat across the floor and raises effective output, and wrinkles or gaps in it can cost more heat than the difference between the two cores. For a closer look at how the panels compare on conductivity, pressure resistance and abrasion resistance, see our performance comparison of underfloor heating panels.
Matching Thickness and Spacing to the Room
The same panel is rarely correct for a whole house. Rooms differ in heat loss, floor covering and the load they carry, and the specification should change with them.
| Room or situation | Panel choice | Pipe spacing | Typical thickness |
|---|---|---|---|
| New build, dry screed, 60 mm of build-up available | EPS | 150 mm | 40 to 50 mm |
| Retrofit over an existing slab, 25 mm maximum rise | XPS | 150 mm | 20 mm |
| Bathroom, shower room or kitchen | XPS | 100 mm | 20 to 30 mm |
| Garage conversion, utility room, heavy furniture | XPS with a higher compressive class | 150 mm | 30 mm |
| Glazed wall or heat pump running at low flow temperature | Either core, tighter spacing | 100 mm | As the build-up allows |
Tighter spacing costs more pipe and a little more labour, which is why it belongs in the two or three rooms with the highest heat loss rather than across the entire ground floor.
Installation Tolerances That Decide Real-World Output
Most underfloor heating complaints trace back to workmanship rather than the panel. These are the tolerances worth checking before the screed is poured:
- Subfloor flatness: no more than 3 mm deviation under a 2 m straightedge. A panel that rocks lifts the pipe and leaves a void beneath the foil.
- Screed cover above the pipe crown: at least 35 mm for liquid screed, and around 65 mm of total depth for a traditional sand-cement screed.
- Edge strip: an 8 to 10 mm compressible strip along every wall and fixed obstruction, otherwise the screed has nowhere to expand.
- Vapour barrier: essential over a ground-bearing slab, particularly under EPS, where moisture uptake is the main long-term risk.
- Pipe spacing consistency: within roughly 10 mm of design. Kinks and bunched loops create cold strips that no increase in flow temperature will fix.
- Pressure test: carried out before, during and after the pour, typically at 1.5 times the working pressure for at least 24 hours.
What to Check Before You Place an Order
Panels look like a commodity on the surface and behave like a specification decision in practice. Six checks separate a panel that performs for the life of the building from one that under-delivers in the first heating season.
- The Declaration of Performance. Look for a declared thermal conductivity and a compressive strength class such as CS(10)150 or CS(10)300, not a vague label like "high density".
- Thickness tolerance. Boards that vary by more than about 2 mm make the screed depth uneven and the floor temperature patchy.
- Facing bond. The aluminium facing should be laminated to the core rather than laid loose over it, so that it survives screeding and years of thermal cycling.
- Edge profile. Interlocking edges and a consistent overlap are what keep pipe runs clear of board joints.
- Board size. Larger boards mean fewer joints, faster laying and less risk of a lifted edge; 1,200 by 600 mm is a common working size.
- The supplier's own production. A manufacturer that moulds and cuts its own EPS and XPS can hold tolerances and cut project-specific sizes instead of shipping whatever happens to be in stock.
Choosing underfloor heating panels is a build-up decision before it is a material decision. Work out how much height the floor can spare, how much load it must carry and how wet it will get. Those three answers point to XPS for thin, damp or heavily loaded floors, and to EPS for dry, generously thick installations. Then hold the supplier to the declared numbers on the data sheet, because conductivity, compressive class and thickness tolerance are the values that decide how the floor performs once the screed has cured.
There is one more practical argument for buying both cores from the same source: a single production site keeps the specification consistent from the first floor to the last, and that consistency is usually worth more than a small difference in unit price.
our featured products.
Discover the timeless beauty and craftsmanship of Evergrowing through our featured products.
-
 XPS underfloor heating panel
-
 EPS underfloor heating panel
-
 EPS Crown Molding T-06
-
 EPS Crown Molding T-04
-
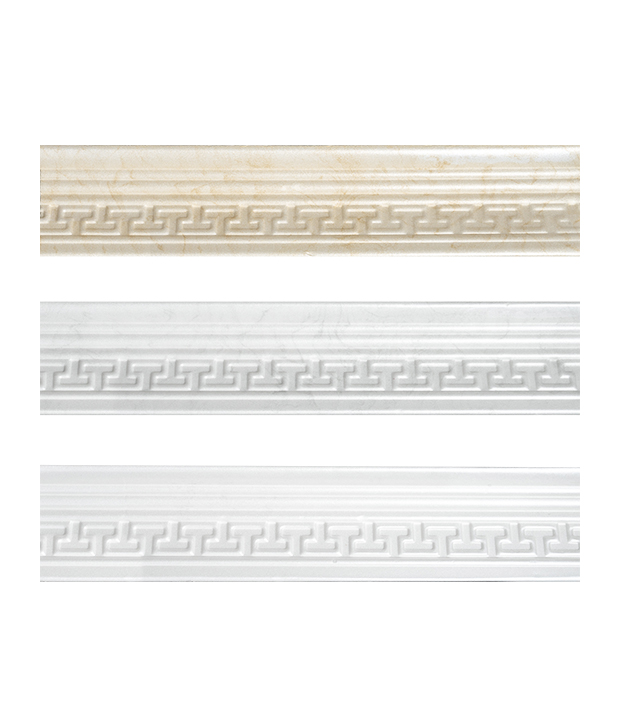 EPS Crown Molding T-02
-
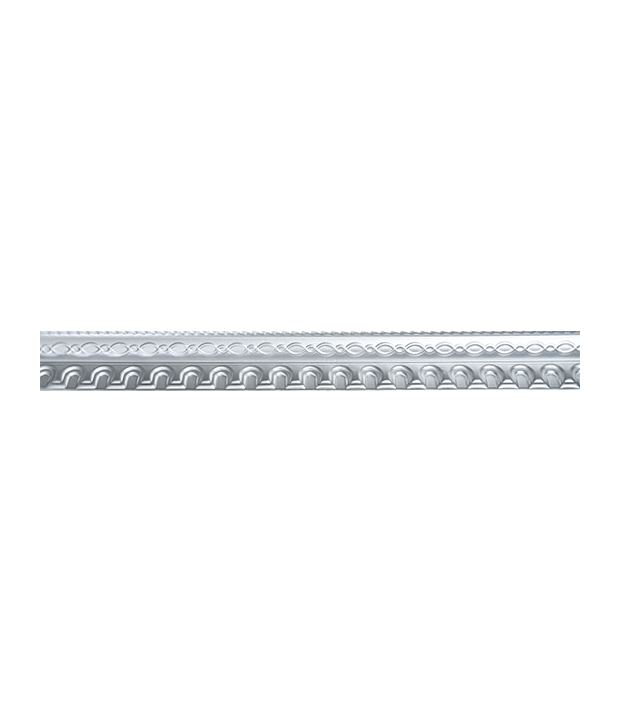 EPS Crown Molding
-
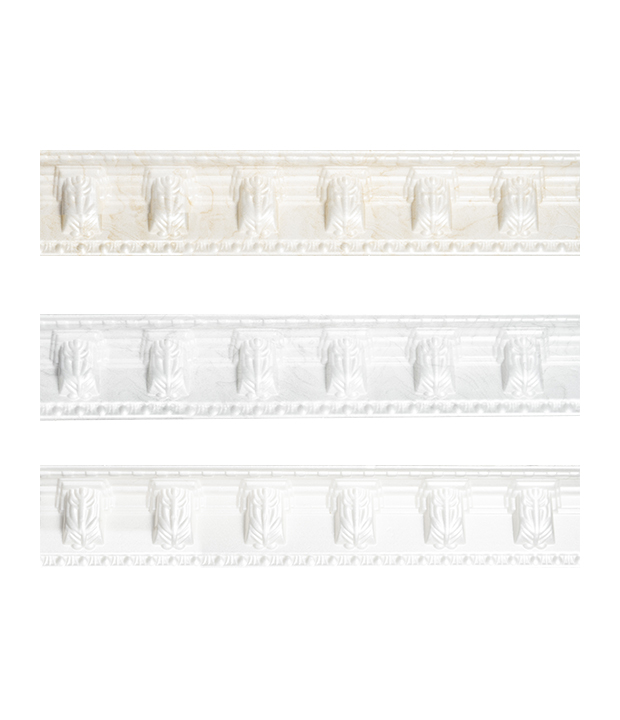 EPS Crown Molding T-18
-
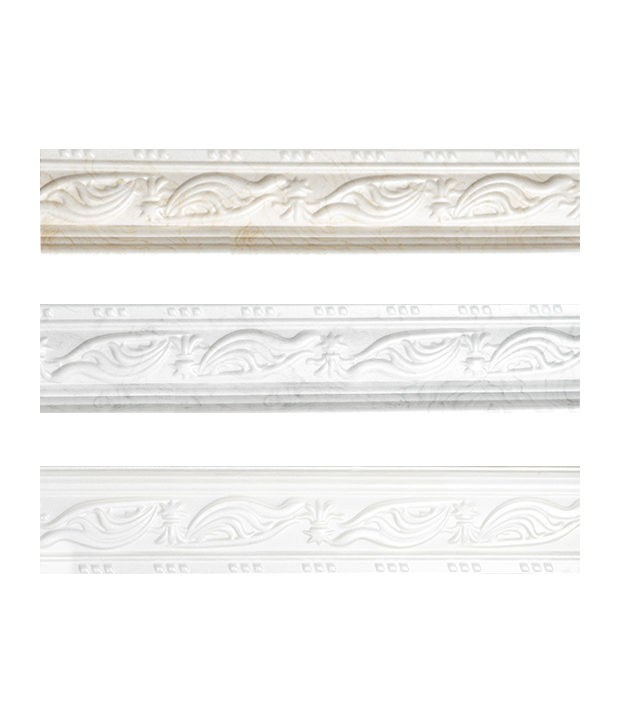 EPS Crown Molding T-20
-
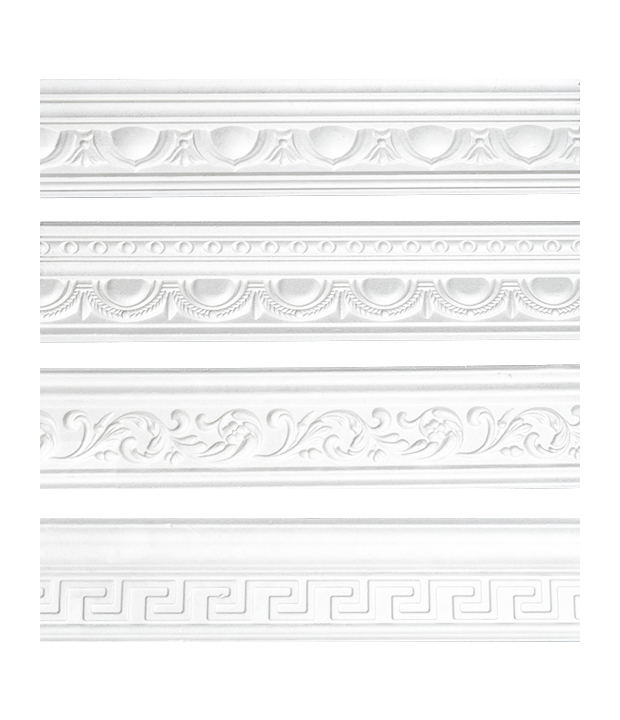 EPS Crown Molding B-06 B-08 B-10 B-12
-
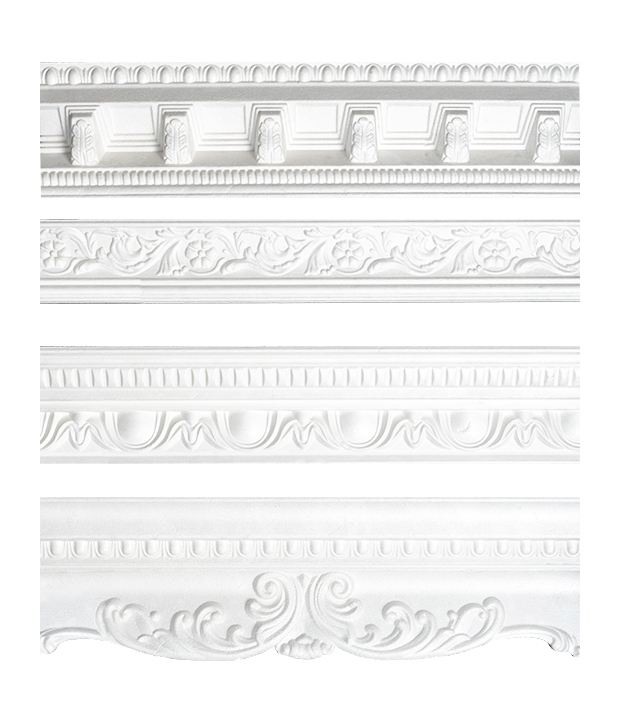 EPS Crown Molding B-22 B-20 B-24 B-18
-
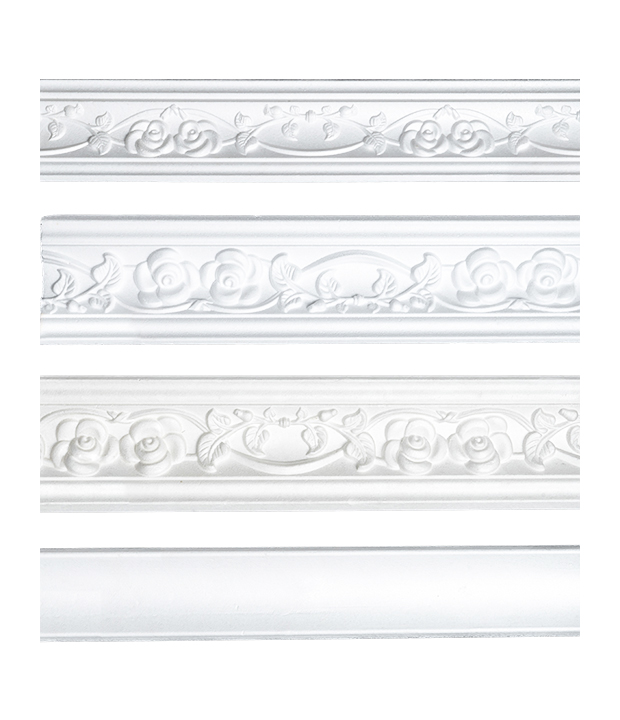 EPS Crown Molding B-26-1 B-26-2 B-26 B-16
-
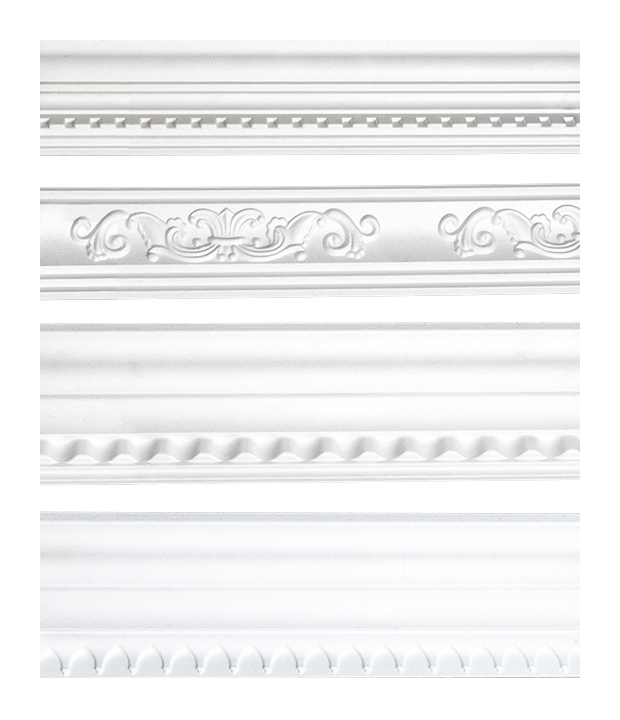 EPS Crown Molding B-30 B-28 B-34 B-32
-
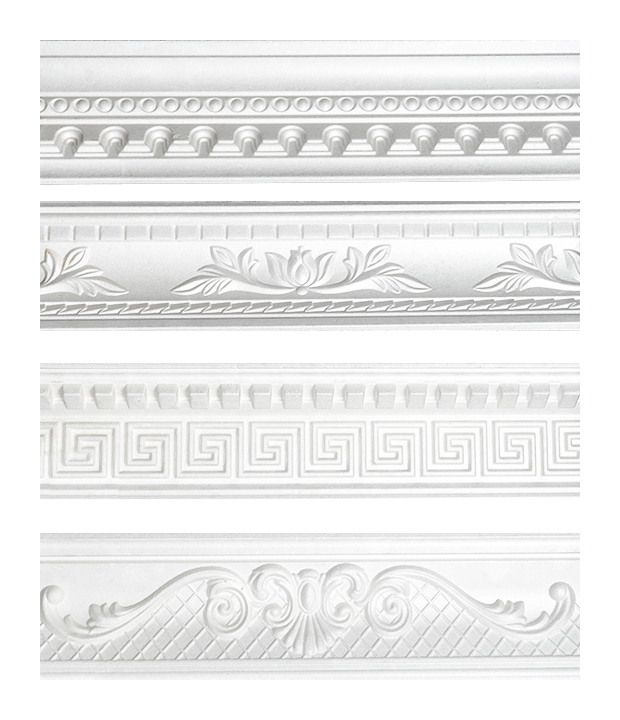 EPS Crown Molding B-42 B-40 B-38 B-36
-
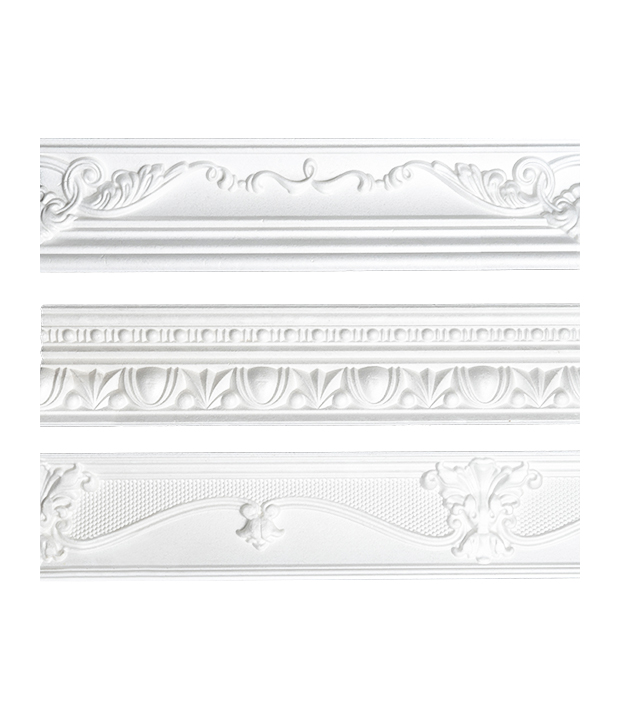 EPS Crown Molding B-60 B-44 B-58
-
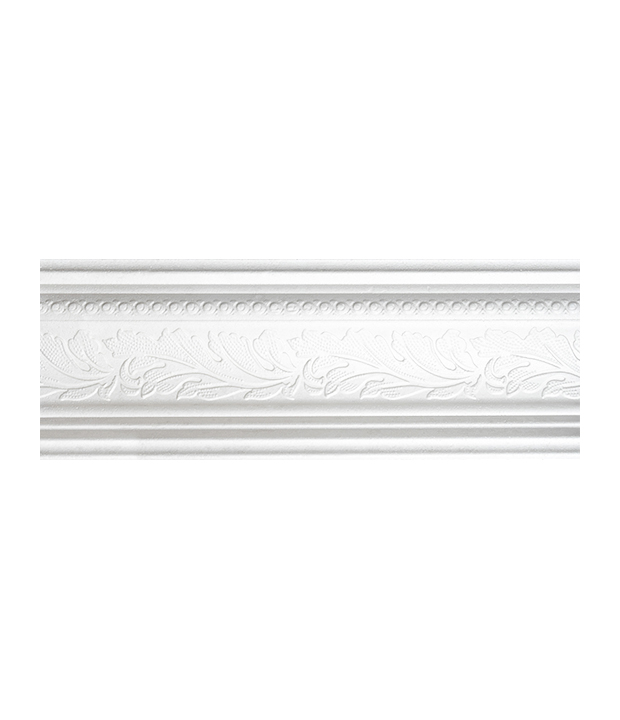 EPS Crown Molding B-56
News
-
-
Introduction What is an EPS Ceiling Medallion? An EPS Ceiling Medallion refers to a decorative ceiling feature made from Expanded Polystyrene (EPS), a type of lightweight foam material. Commonly used ...
READ MORE -
What is a Ceiling Medallion, and How Does it Change the Visual Proportion of Interior Space? In the realm of high-end interior design, the ceiling is no longer an overlooked surface. Often referred to...
READ MORE
Contact info.
- Cell:+86-15951909824 (Amanda)
- Email: amanda@ever-growing.net / 363526407@qq.com
- Add: No.5, Yanhe Rd, Ganduo Indsutrial Park, Gaoyou, Yangzhou, Jiangsu, P.R.O.C.
Quick Links
Copyright © Yangzhou Ever-Growing International Co.,Ltd. All Rights Reserved.
Wholesale Precision Foam Interior Decoration Manufacturers